Too high screw-tightening torque, corrosion or wear – these and other factors cause thread destruction.
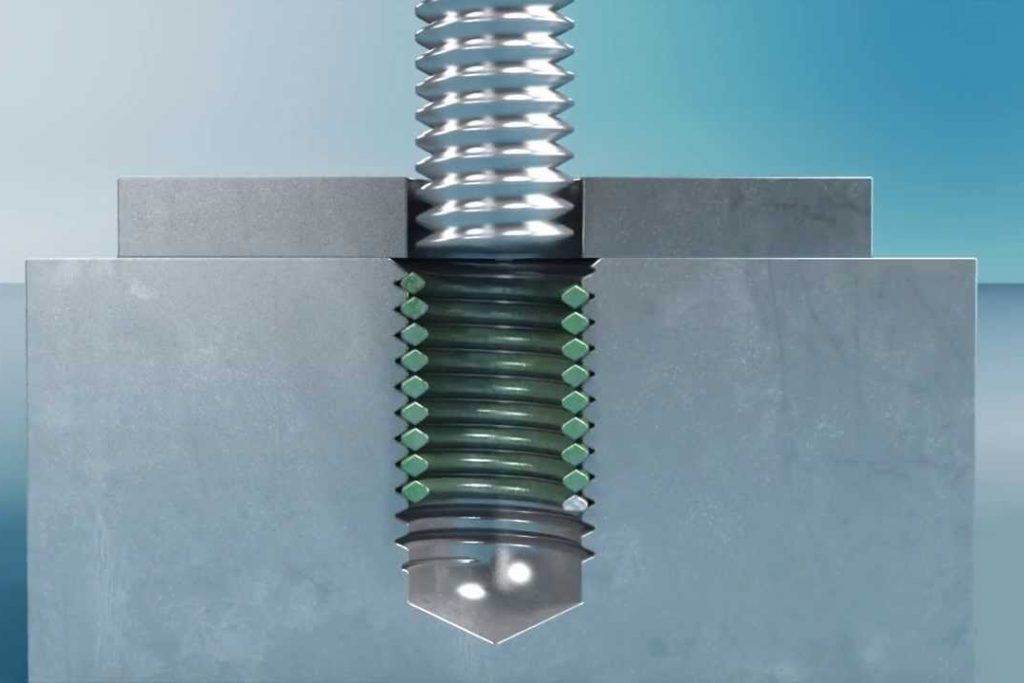
Wire thread inserts have been developed in many different designs to repair destroyed threads within a short time. The assembly of wear resistant thread inserts leads not only to repair but also to an increasement of thread loading.
In this article we will explain how to fix the damaged thread.
Before you can start repairing the damaged thread, make sure you have the following tools:
- drilling machine
- twist drill
- single-cut tap
- tap wrench
- installation tool
- thread insert
- tang-break tool
The thread repair
Drill thread

First you drill the damaged thread with a twist drill. The twist drill must match the size of the thread diameter.
You can find an overview of the required diameter (core holes) in this table (PDF).
Tap thread

Now you can tap the new thread with the single-cut tap. To do this, place the single-cut tap in the tap wrench and cut by hand into the drilled hole.
If you have cutting oil on hand, you can use it well here.
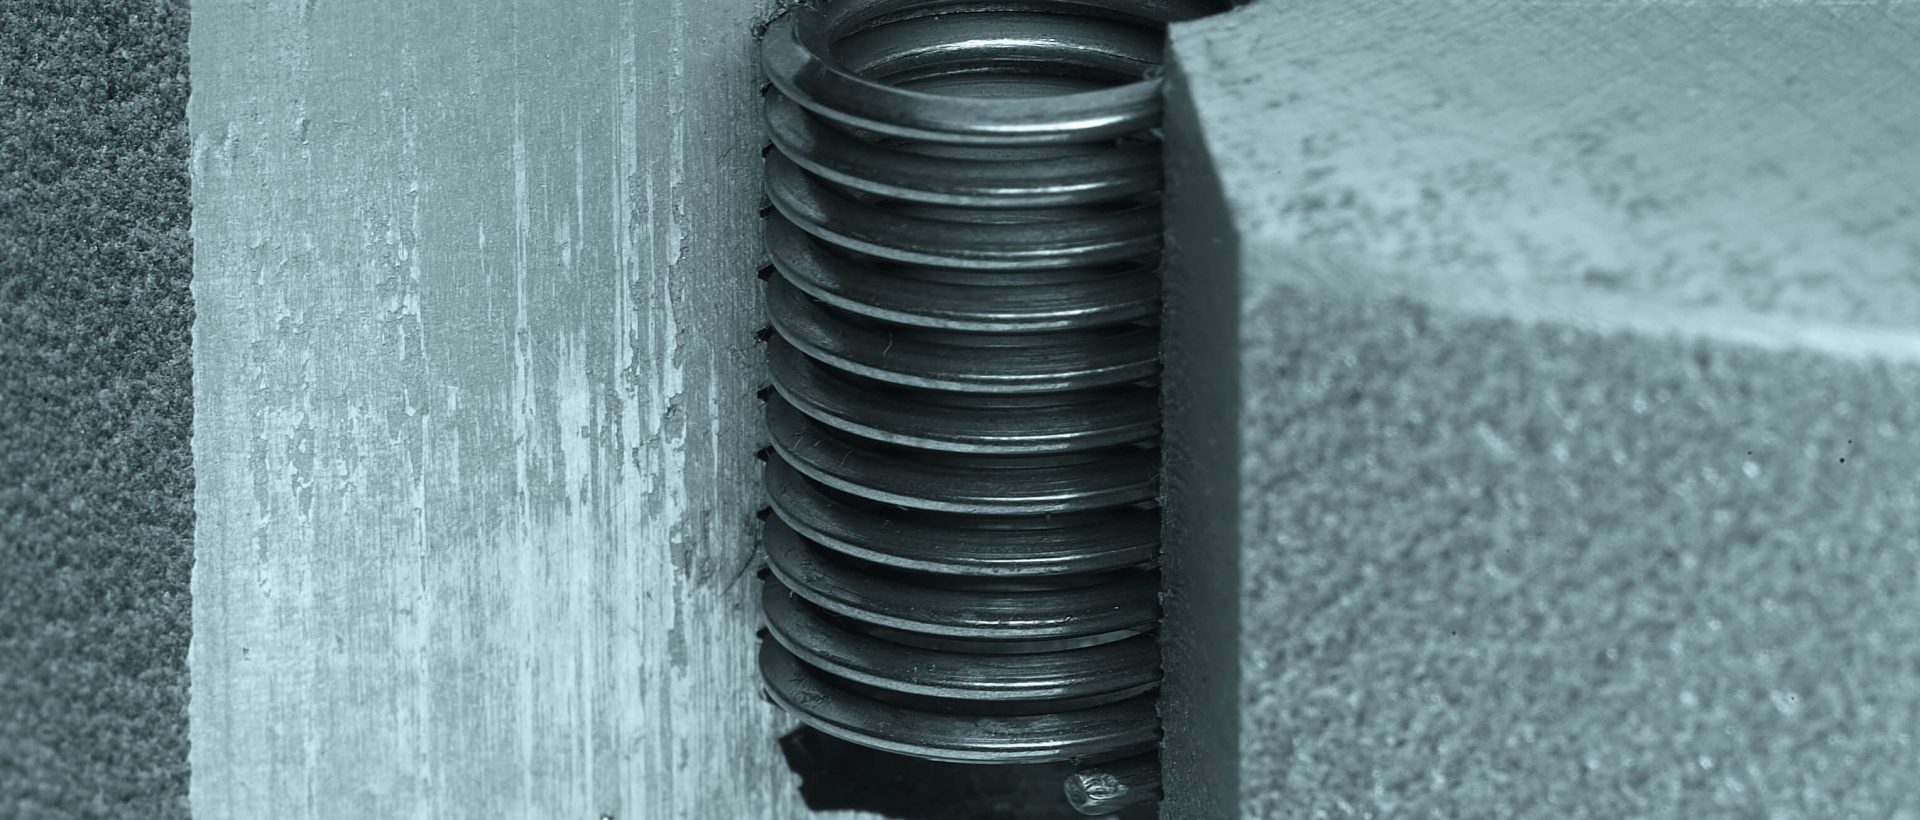
Install thread insert
Put the thread insert on the installation tool or directly into the hole. The pin (the transverse part in the middle of the thread insert) must sit down in the groove opening.
Turn the thread insert under slight pressure in the thread direction.
The thread insert should be installed at atleast 1/4 thread below thework piece top surface.
Attention: DO NOT turn against the direction of rotation otherwise the tang could break off.
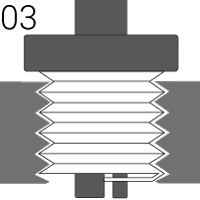
Break the tang

Break the tang of the thread insert with the tang-breaker at the bottom of the thread.
Voilà!
Now you have new repaired and stronger thread.
For additional information, don’t hesitate to contact us:
info@kelbulgaria.com
+359 877008832